


Stirling Ridge Walk
Stirling Ridge - Day 1 : Fence Track to Ellen's Peak
Stirling Ridge - Day 2 : Ellen's Peak to the Third Arrow
Stirling Ridge - Day 3 : The Third Arrow to Bluff Knoll
The Stirling Ridge Walk
Difficulty Rating : 5.2 / 10.0 (Class 7 - Challenging)

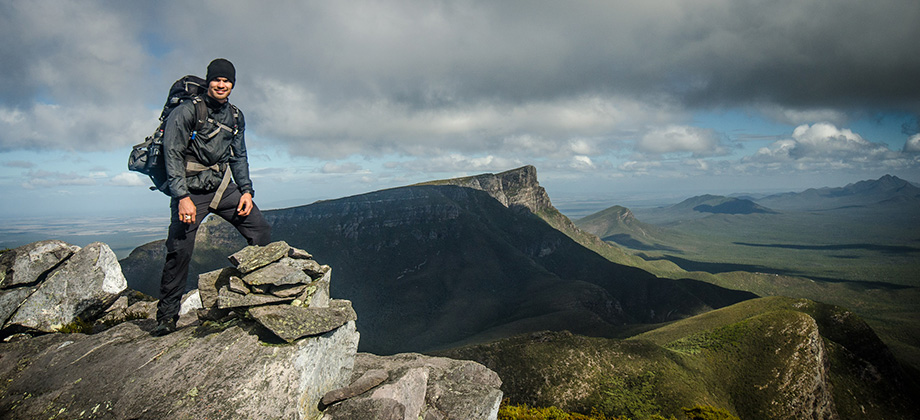
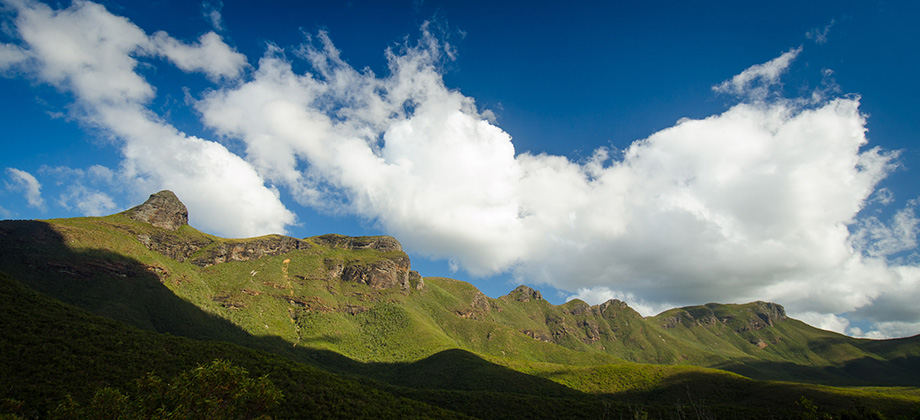
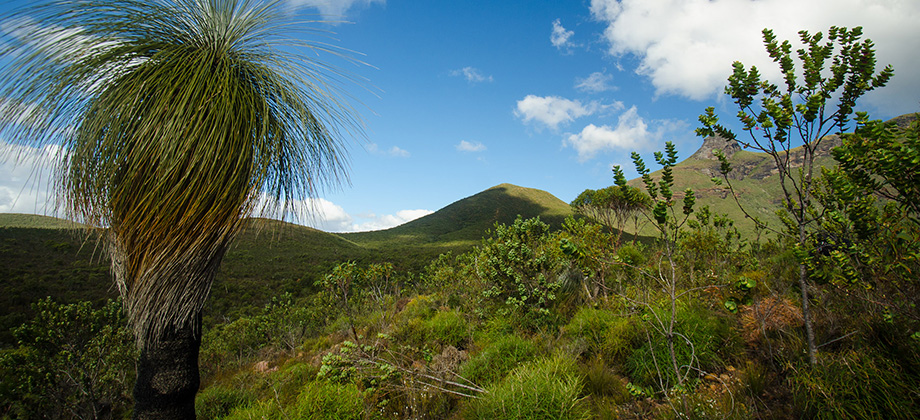
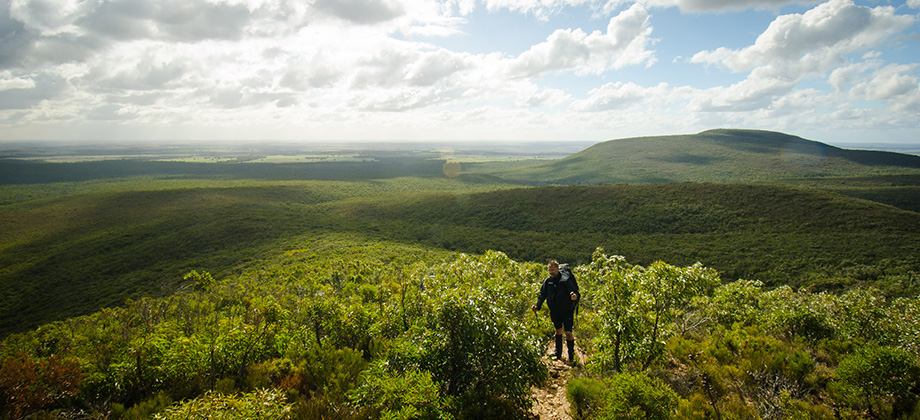
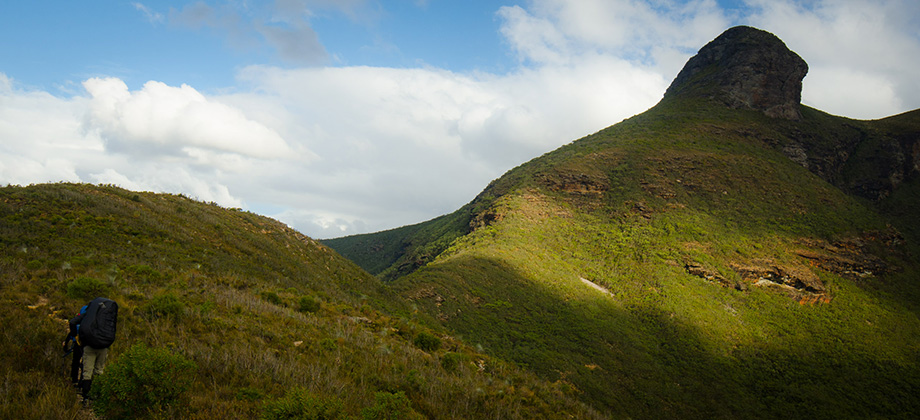
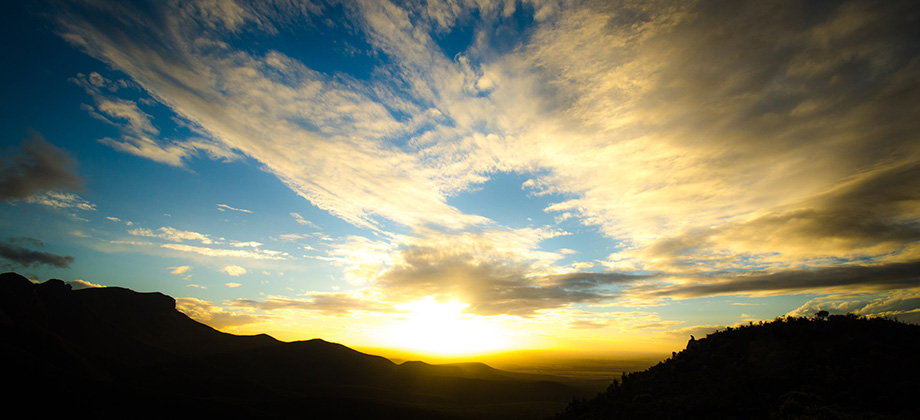
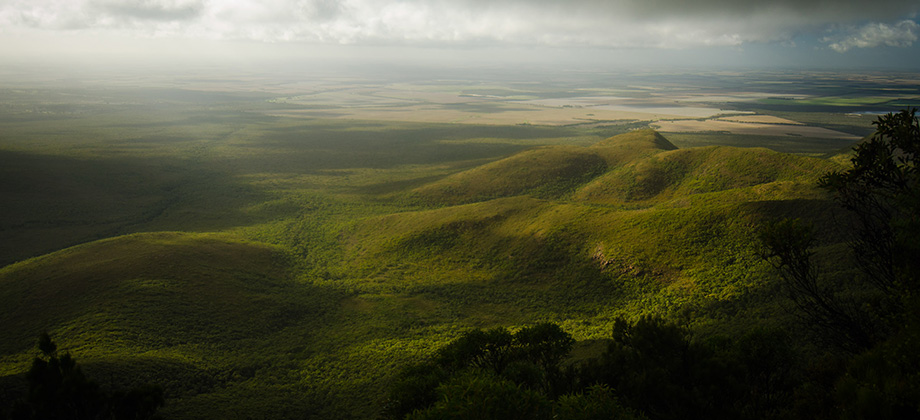
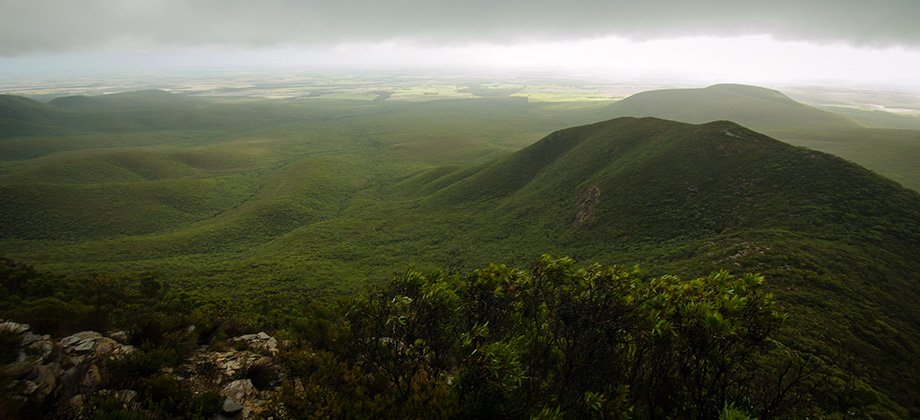
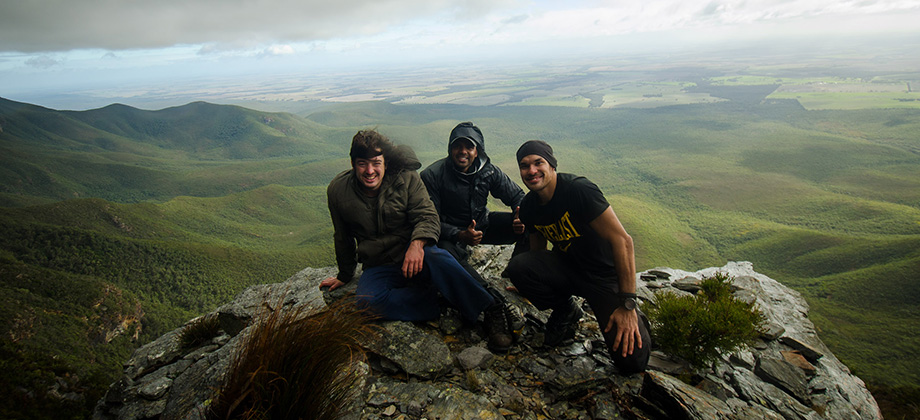
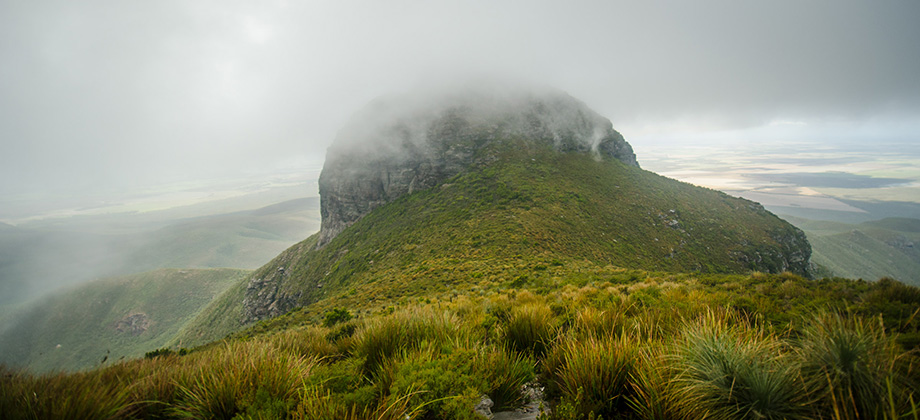
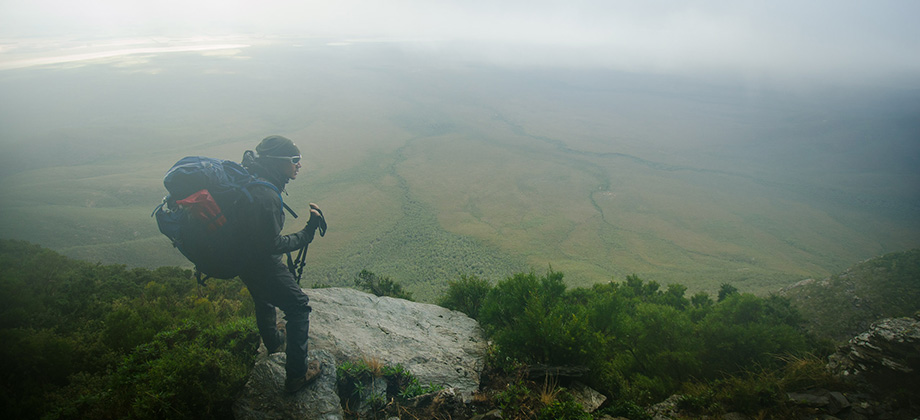
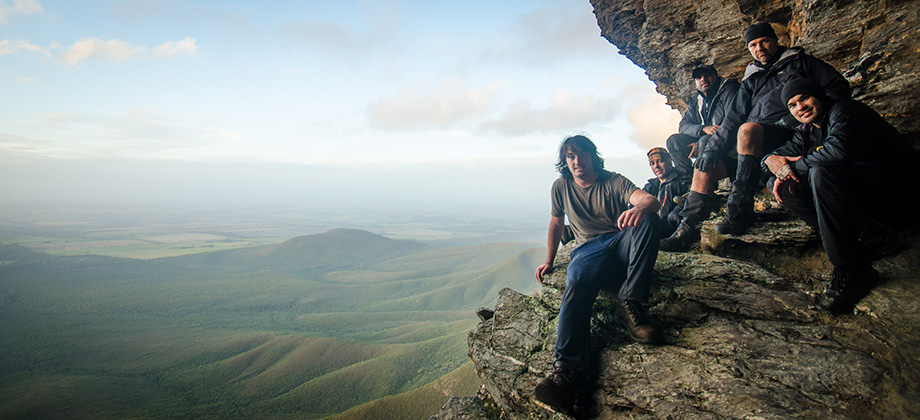
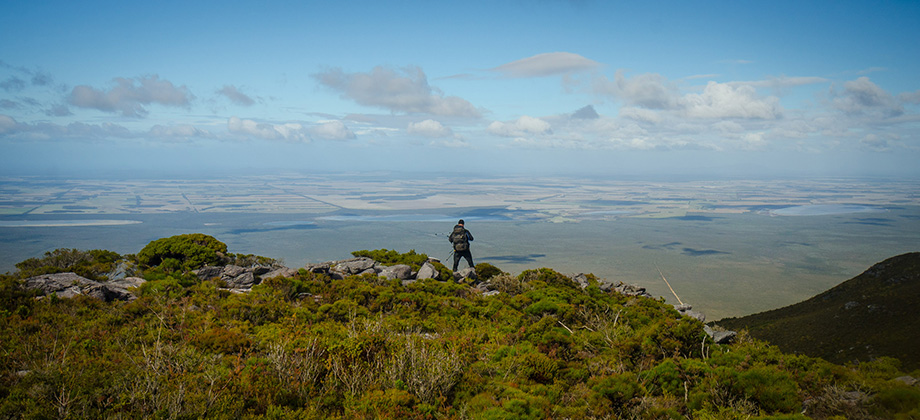
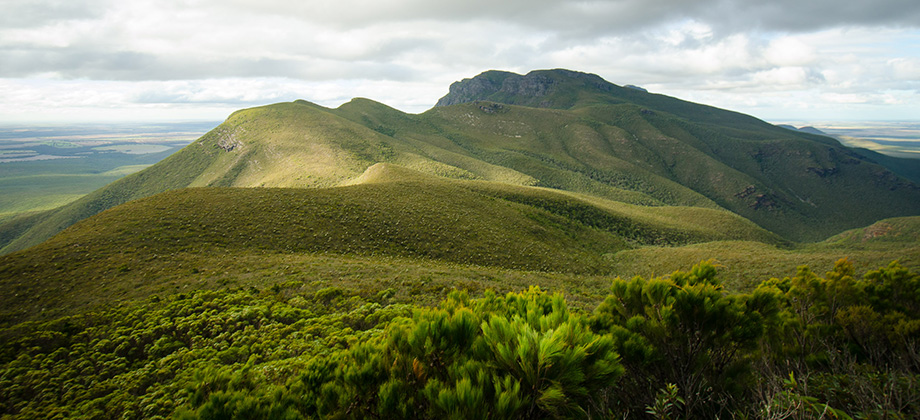
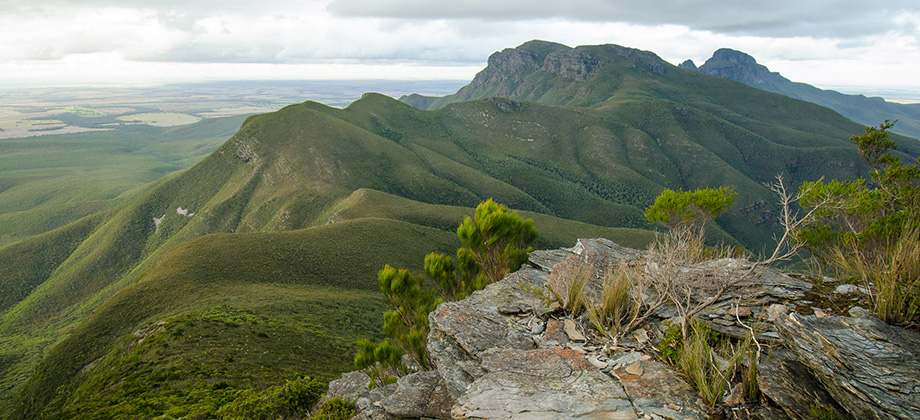
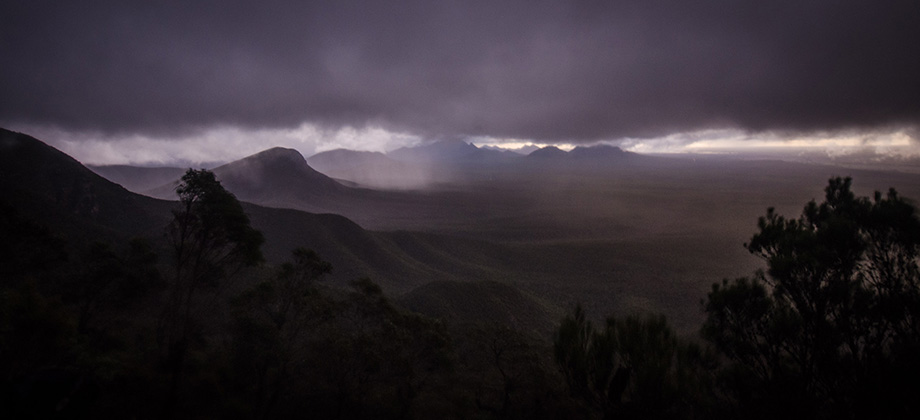
The Stirling Ridge Walk is a route that covers about 15 km between the peaks of Bluff Knoll (elevation : 1073 m) in the west and Ellen's Peak (elevation : 1012 m) in the east. The walk is considered one of Australia's most challenging hikes mainly because of the rugged and dangerous terrain (narrow, precarious ledges and crumbling rocks) and the unpredictable, mercurial weather (occasional snow, frequent white-outs, strong buffeting winds, and torrential rain) that hikers will undoubtedly face there. The lack of water sources along the ridge means that hikers will have to carry their own water supply up with them, the extra 8-9kg of water weight for a three day hike almost doubling the weight of their backpacks. Navigation is also of paramount concern as the trail is not very well defined, is unmarked, and is very easy to lose. Maps, GPS units, compasses and the invaluable book by AT Morphet, 'Mountain Walks in the Stirling Range, Part 2,' are all highly recommended. The Stirling Ridge Walk can be attempted either from Bluff Knoll to Ellen's Peak, traveling eastwards; or the other way around, traveling westwards. Since we chose the latter, the walk began with the long trail down the Boundary Fence track that turned off Gnowellen Road. Below you can find the directions to that point (-34.318062,118.389659) from the Stirling Range Retreat :
Getting There

Interactive Location Map
Here is entire route that we took over the three days. Clicking on each section of the route will bring you to its respective page :

Things to keep in mind
1 - Keep your backpack as compact as possible. This will decrease the chances of it snagging on the branches of the thicket that you will have to push through and bumping into the sides of the rock as you inch your way along the narrow ledges.
2 - Try and keep most of your water towards the centre of your backpack. The more compact your backpack is and the closer the mass of the weight is to your own centre of gravity, the more agile you will find yourself. Try to ensure that your backpack does not become a hindrance.
3 - Bring gloves! Not only will they keep your hands warm but they will also serve to protect them from the nasty sword grass that you will encounter along the way.
4 - Treat hot spots on your feet (by strapping them up) as soon as they make themselves known. Nothing can ruin a hike like a bad blister.
5 - Layer up. The Stirling Ridge can be both warm as well as very cold. Ensure that you have clothes for a wide range of temperatures.
6 - Water-proof your bags. The Stirling Ridge walk is a very exposed hike that can get a lot of rain. The lingering moisture in the air was enough to leave my goose down sleeping bag damp, which left me much colder at night than I would have liked (since down loses its insulation properties when wet). The same thing goes for clothes - Keep a pair of clothes that are always dry just for sleeping in.
7 - The book by AT Morphet, 'Mountain Walks in the Stirling Range, Part 2' was useful on more than one occasion.
8 - Bring a GPS unit (and don't forget extra batteries or an external power bank). If you do not have access to one, at least make sure that you have a comprehensive map of the area and a working compass (and that you know how to use them).
9 - Know where the two escape routes that lead northwards are and know how to get to them. The first one that leads down the North Mirlpunda track can be found at the First Arrow, and the second one that leads down the North Isongerup track can be found north of Moongoongoonderup Hill.
10 - Make sure that you aim downwind!
Next : Day 01 - Fence Track to Ellen's Peak (Part 1)
Top Trails of Western Australia
Australia Overview


Excellent read buddy… Thank you…
enjoyed reading your post and awesome photos. find it very informative. well done. cheers
Hi Ramon, very impressive Blog and rich information and great photo shots. Truly enjoy reading your blog. Hope to have opportunity to follow your trails and learn from you. Cheers.