


Stirling Ridge Walk - Day 3
Stirling Ridge Walk Index
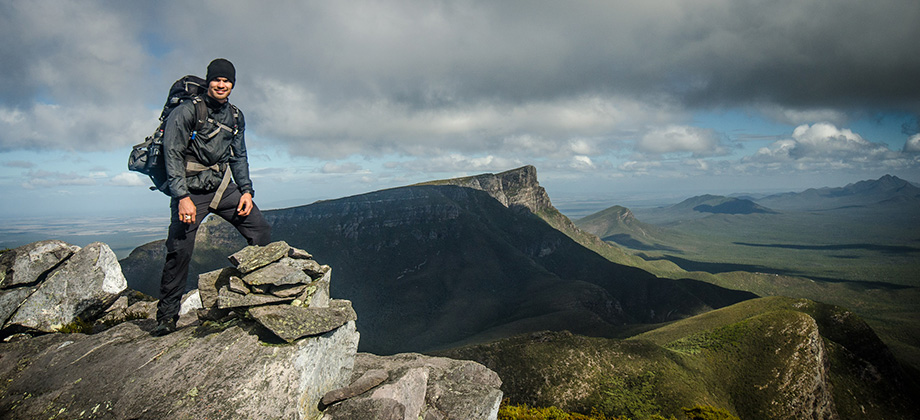
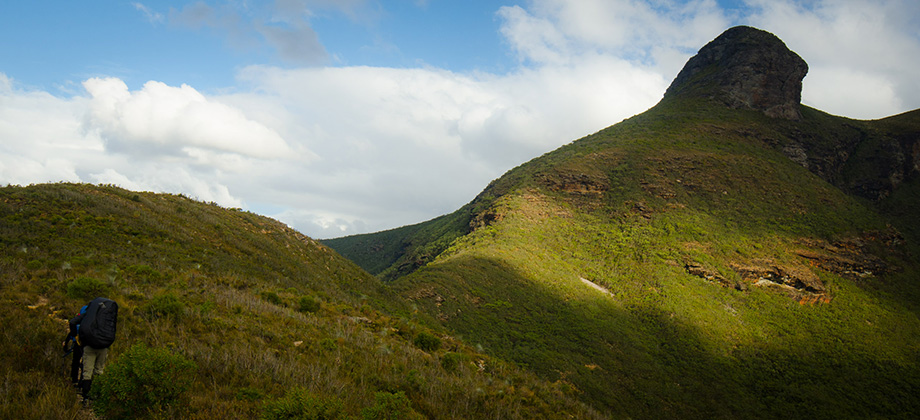
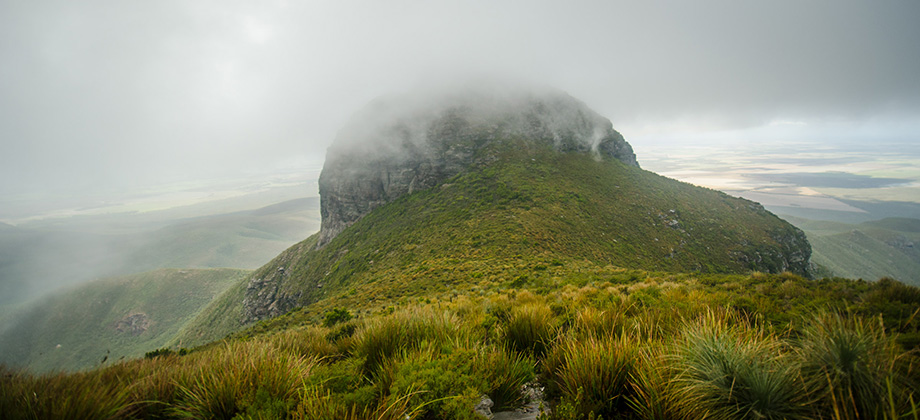
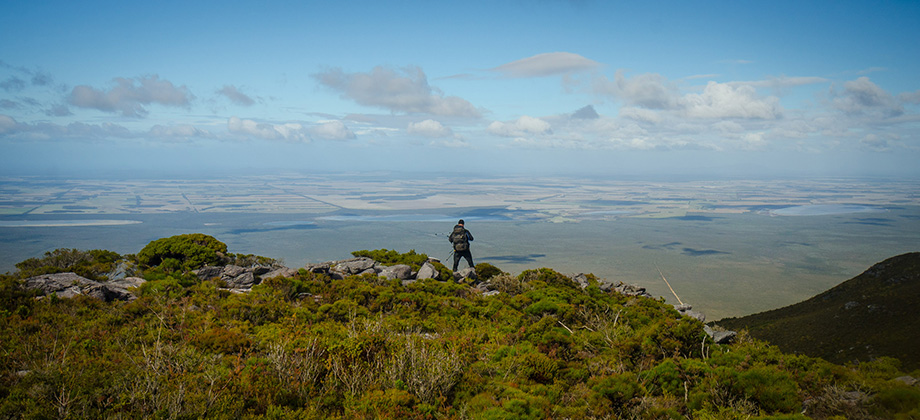
The Third Arrow to Bluff Knoll

 The ascent up to the first arrow was also surprisingly straightforward, the descent on the other hand was a different matter entirely. The route that we had to take dropped down the right side of the arrow shortly after the summit and then proceeded to edge its way back up the north-west pinnacle after passing the junction that led down to the escape track to the North Mirlpunda Track. Things became a little tricky as low clouds began to descend upon us, greatly limiting our visibility. The route that we were trying to follow ultimately led us to a sheer ridge that seemed insurmountable, but as we reached the edge, we noticed the presence of a rope that had been tied in as an anchor point for roped-descents. After spending some time mulling over our options, we decided that the best choice we had would be to track back along the route from where we came, and instead to zig-zag and drop down the side of the arrow to the path that flanked the base on the right (northern) side. This path ended up bringing us to the base of the sheer ridge that we had been unable to pass earlier.
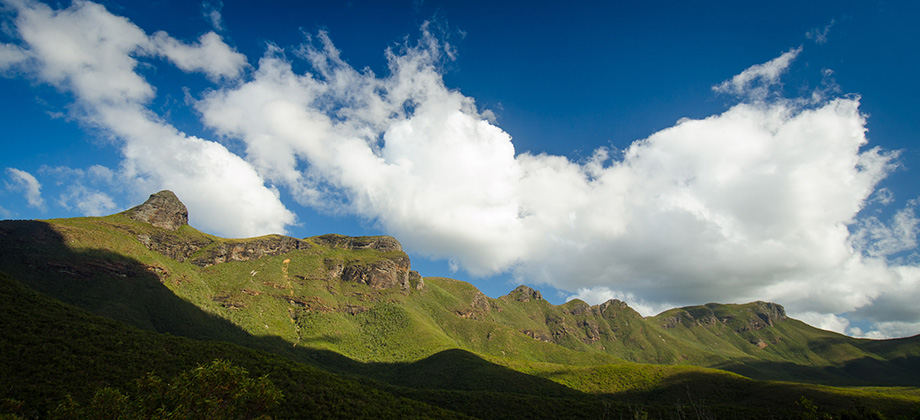
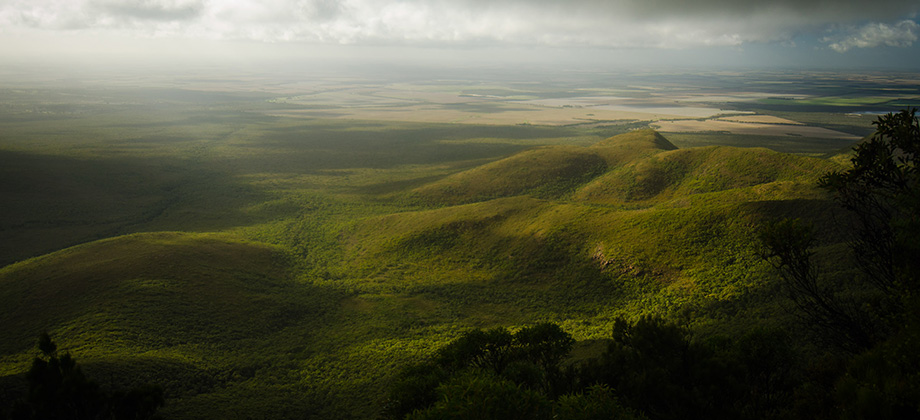
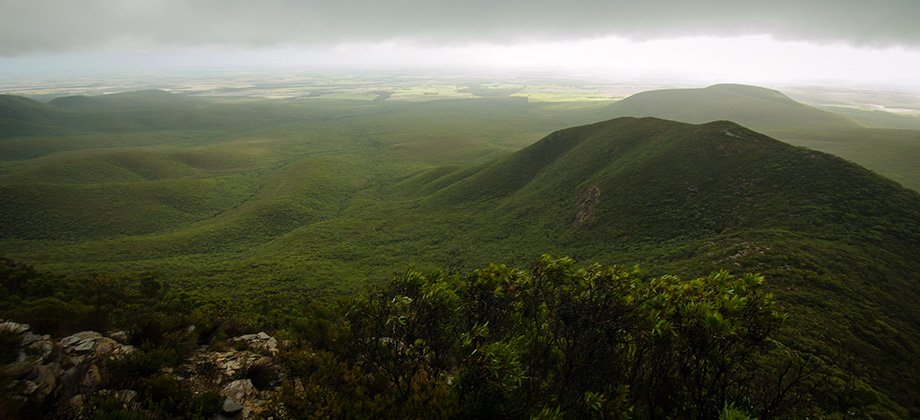
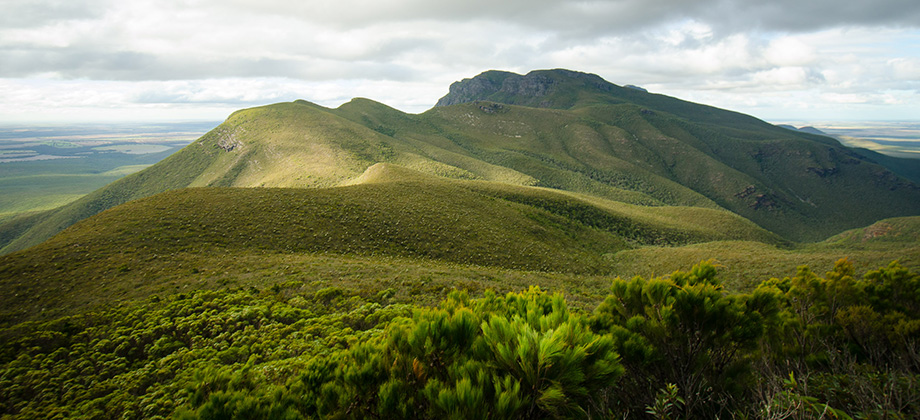
The route carried us through a narrow cleft that split the rock castle right down the middle. A short descent down to the sheoak (Allocasuarina sp.) col before the ascent to Isongerup brought us to another clearing that could have been used as a camp site. After passing through the sheoaks, the ascent up to the peak of Isongerup North became much easier as the shrubbery began to open up, leaving us with some astounding views of the arrows that we had left behind us.
The ascent up to the first arrow was also surprisingly straightforward, the descent on the other hand was a different matter entirely. The route that we had to take dropped down the right side of the arrow shortly after the summit and then proceeded to edge its way back up the north-west pinnacle after passing the junction that led down to the escape track to the North Mirlpunda Track. Things became a little tricky as low clouds began to descend upon us, greatly limiting our visibility. The route that we were trying to follow ultimately led us to a sheer ridge that seemed insurmountable, but as we reached the edge, we noticed the presence of a rope that had been tied in as an anchor point for roped-descents. After spending some time mulling over our options, we decided that the best choice we had would be to track back along the route from where we came, and instead to zig-zag and drop down the side of the arrow to the path that flanked the base on the right (northern) side. This path ended up bringing us to the base of the sheer ridge that we had been unable to pass earlier.
The route carried us through a narrow cleft that split the rock castle right down the middle. A short descent down to the sheoak (Allocasuarina sp.) col before the ascent to Isongerup brought us to another clearing that could have been used as a camp site. After passing through the sheoaks, the ascent up to the peak of Isongerup North became much easier as the shrubbery began to open up, leaving us with some astounding views of the arrows that we had left behind us.

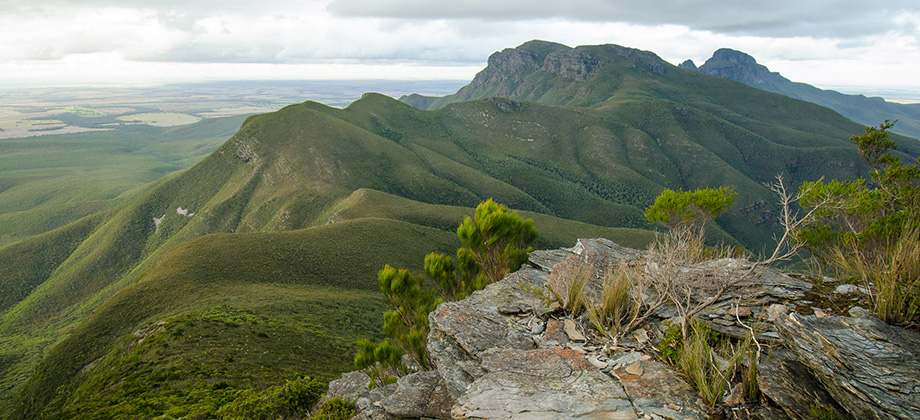
Isongerup
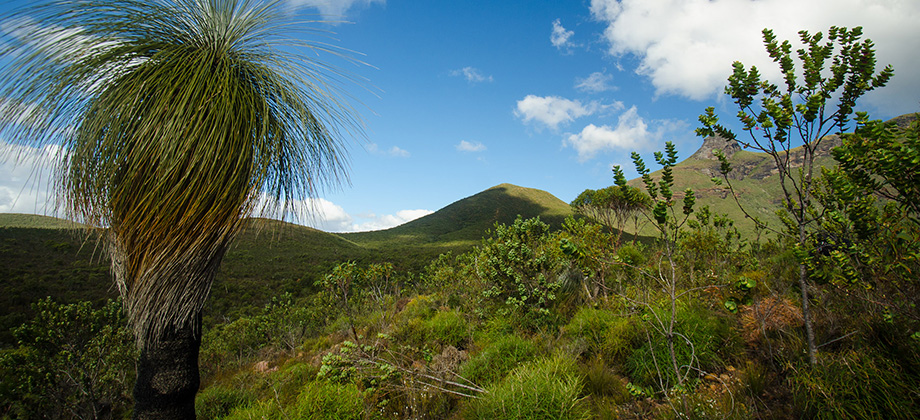
At the peak of Isongerup North, the path veered south and made its way towards the main peak of Isongerup. Quartz veins snaked their way along the rock as we walked by and they reminded me of the quartz dike that makes up the Tabur range in Malaysia. There were also clumps of frail, whispy-looking, epiphytic air plants (Tillandsia spp.) that were scattered around, often amongst western grey kangaroo (Macropus fuliginosus) droppings.


